
Last updated November 4, 2026
 Wrought iron
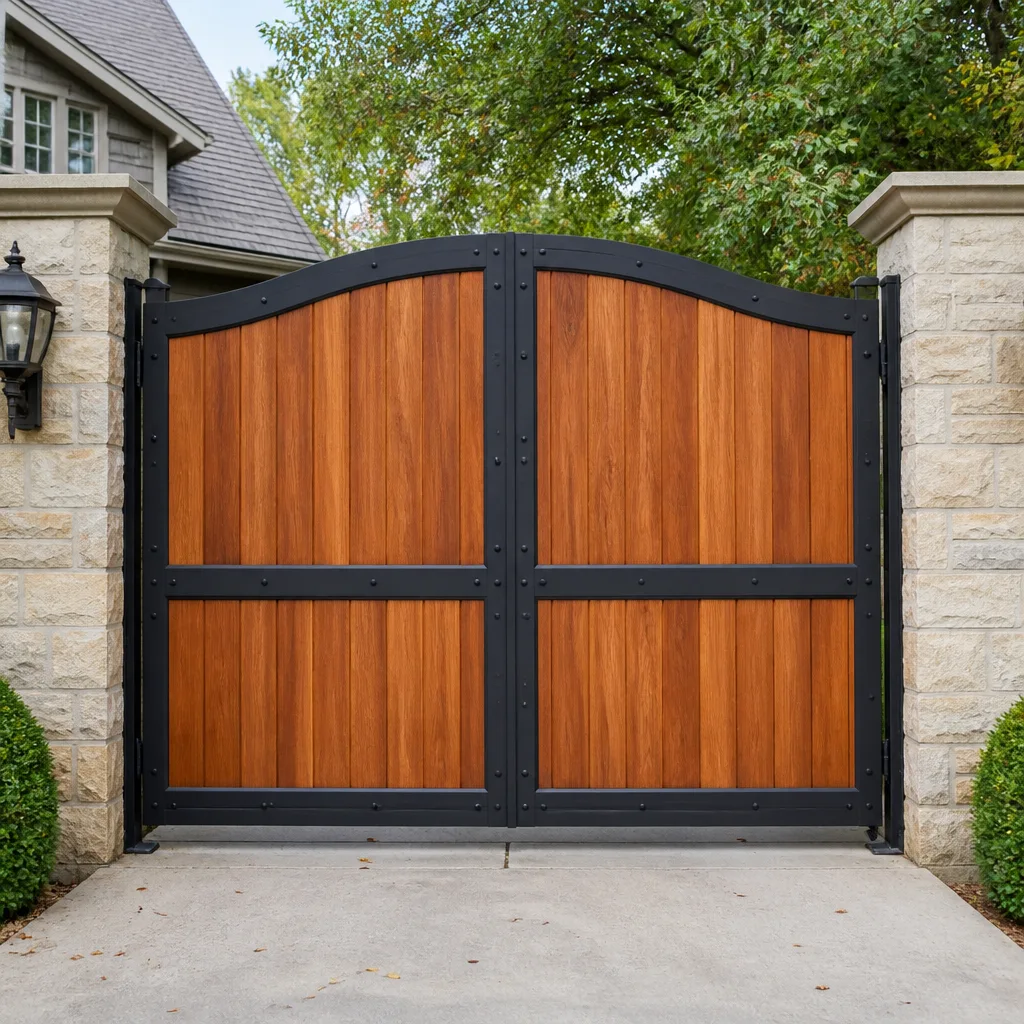 Wood & steel frame
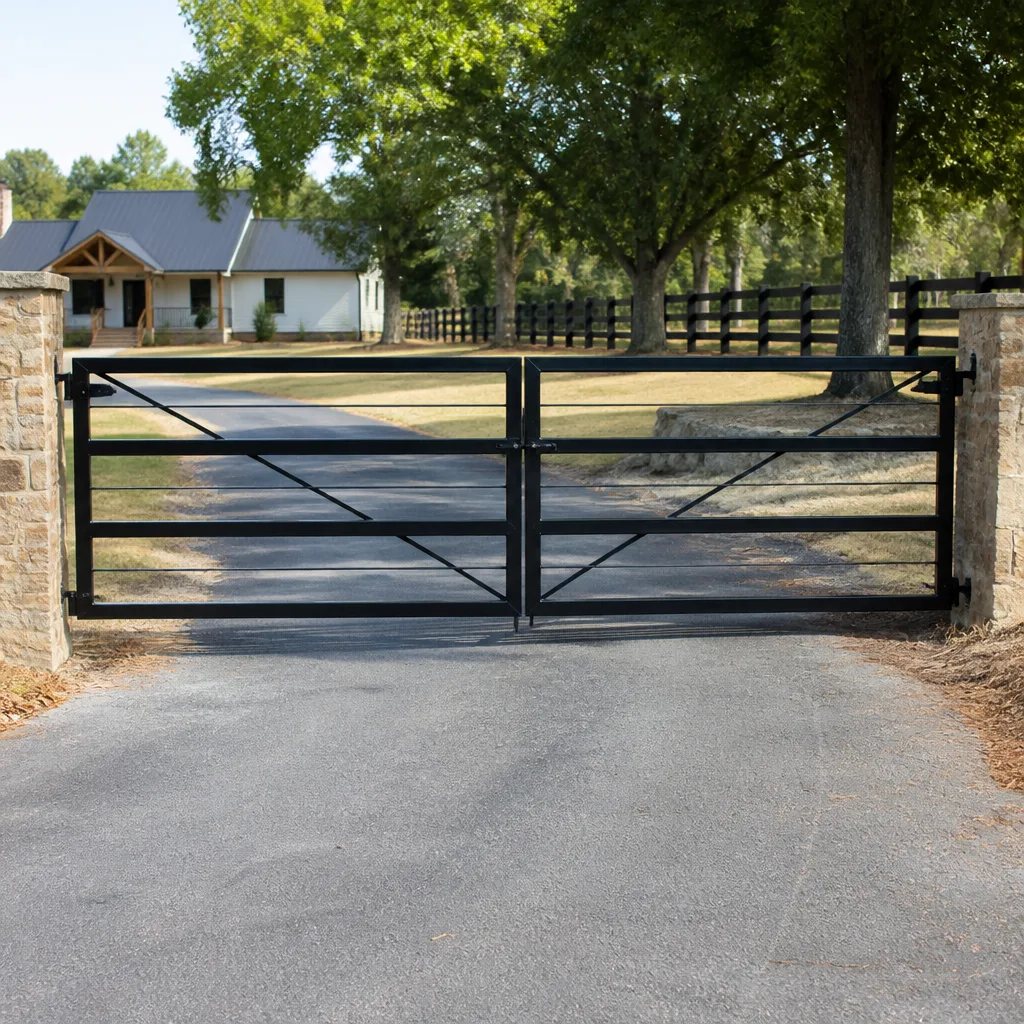 Farm & ranch
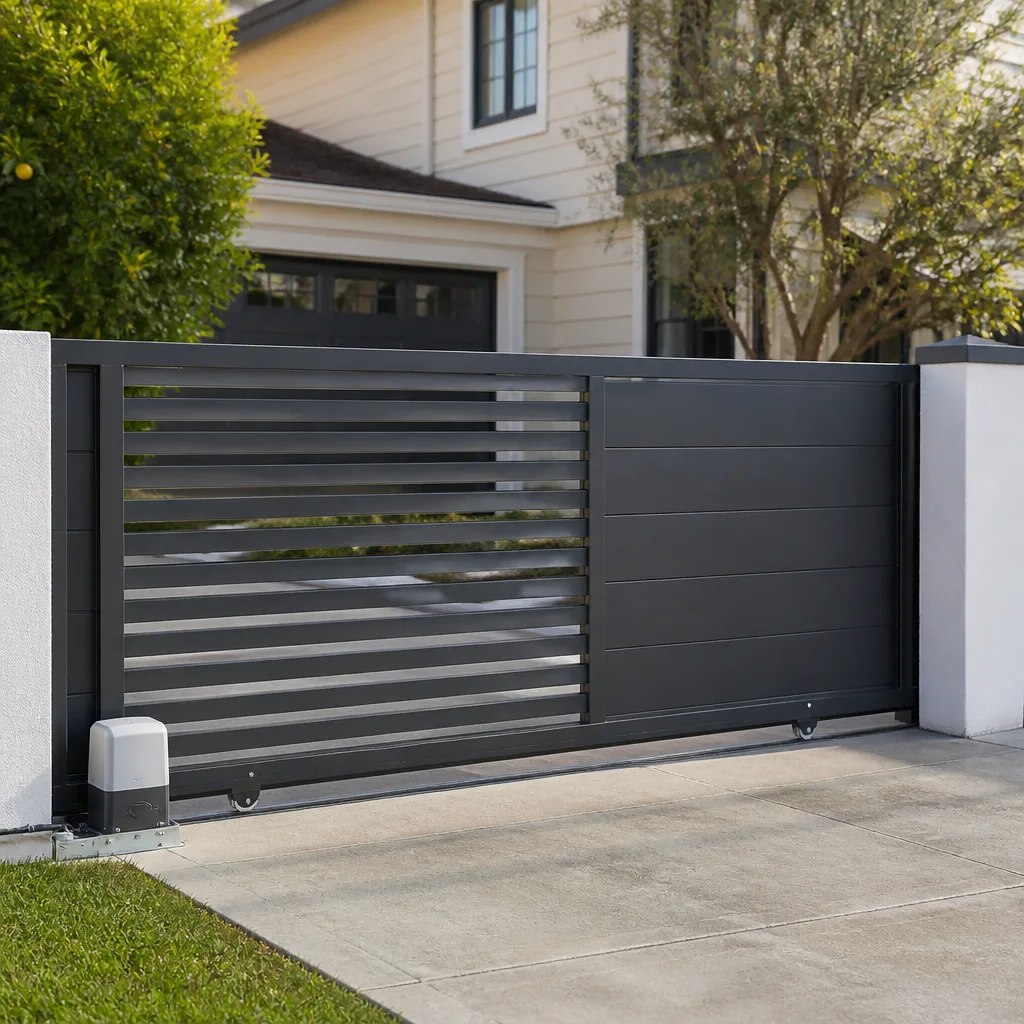 Sliding driveway gates
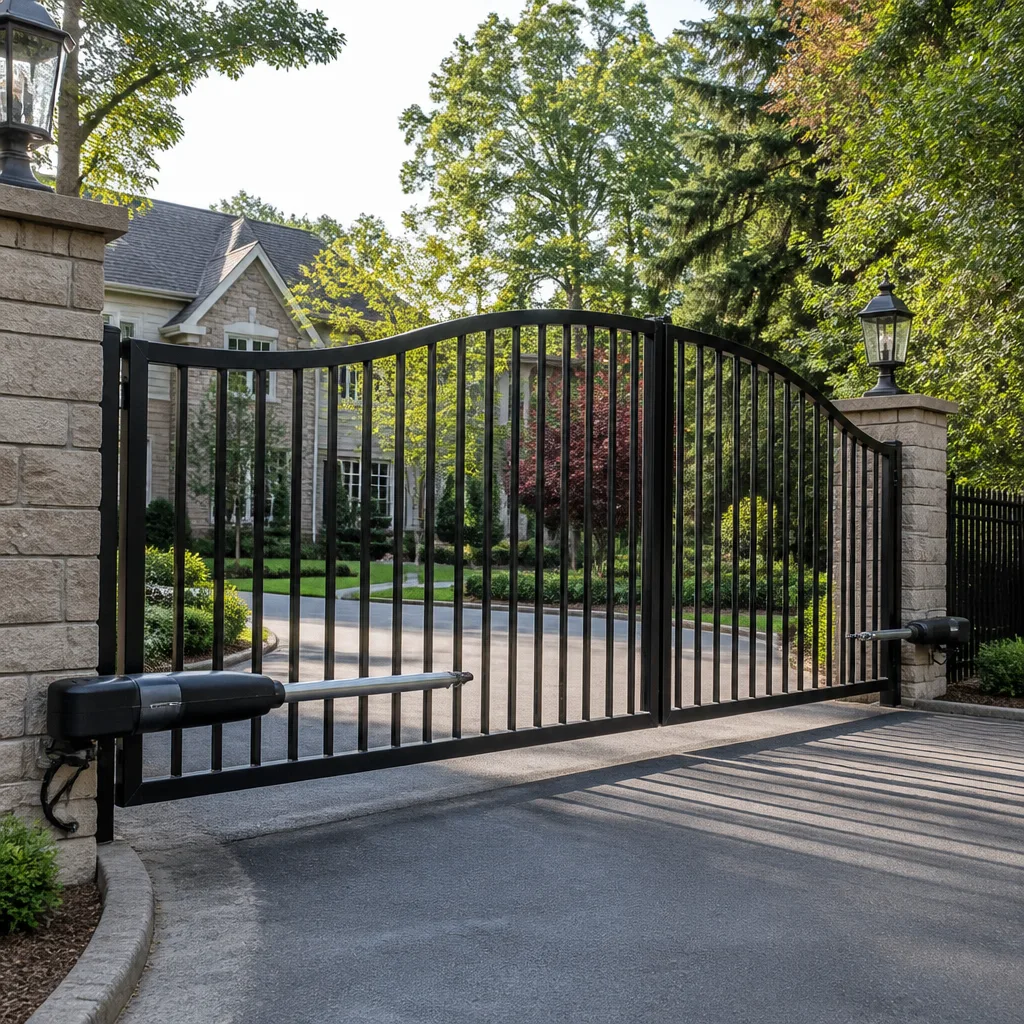 LiftMaster operators
Free on-site gate assessment - hinges, posts, and your LiftMaster or Nice gate operator checked before anything is quoted
The assessment is free and the quote is the invoice.
Get your free estimateGate Repair Maintenance Checklist for Westminster Homeowners
Ninety percent of emergency gate calls we run are preceded by a warning sign that was visible at least 30 days earlier. The problem is that most checklists are generic: “inspect hinges, check opener.” That advice fails a Westminster homeowner with a 900-pound slide gate on a Viking operator, because the hinge advice doesn’t apply and the opener inspection is the wrong test. This guide breaks the checklist down by gate type and control system, so you’re looking at the right parts for the right reasons.
Styles & brands we work with
- Wrought iron
- Wood & steel frame
- Farm & ranch
- Sliding driveway gates
- LiftMaster operators
Quick Answer
A gate maintenance checklist for Westminster homeowners should be organized by gate type first: slide gates need track and wheel inspection plus limit-switch verification, while swing gates need hinge and operator-arm checks. The items that prevent most emergency calls are control-board visual inspections, irrigation overspray checks on electrical enclosures, and lubrication of specific components with the correct product. Most homeowners can complete a basic monthly pass in about 15 minutes.
Table of Contents
- Understand Your Gate System Before You Start
- Monthly Visual and Mechanical Checklist
- Slide Gate Inspection Points: Track, Wheels, and Limits
- Swing Gate Inspection Points: Hinges, Arms, and Stops
- Control Board and Electrical Checklist: What Forecasts Failure
- The Irrigation Overspray Audit: Protecting Enclosures
- Lubrication Specification by Component
- Maintenance Log-Keeping: Format That Makes Diagnostics Faster
- Common Mistakes to Avoid
- When to Call a Professional
- Frequently Asked Questions
- The Bottom Line
Understand Your Gate System Before You Start
Before you touch anything, identify what type of gate you actually have. This matters because the failure modes are completely different. A slide gate that binds on its track has nothing in common with a dual swing gate whose Leaf 2 drags on the concrete because a hinge pin wore down. The checklist below separates slide gates from swing gates for that reason. If you have a gate with an operator, note the brand. We work on Viking, Ghost Controls, DoorKing, and Elite systems regularly, and each has its own board layout and diagnostic LED sequence. Knowing the brand before a problem appears means when something does fail, the technician can arrive with the right board or limit switch already in the truck.
Manual gates need maintenance too. A manual swing gate that sags will eventually drag, and a manual slide gate that comes off its rear guide wheel can tip. The mechanical checklist below applies whether or not there’s a motor attached. For electric systems, the control board is the part most likely to warn you before a total failure, so don’t skip the electrical section just because the gate still opens and closes.
Monthly Visual and Mechanical Checklist
This is the ten-minute pass every Westminster homeowner can do. Walk the gate line with these items in mind, in this order. Most failures announce themselves with a visual change before a functional one, so train your eye first.
- Post bases and welds: Look at where posts meet the ground and where supports weld to the frame. Hairline cracks in welds or gaps opening at the base mean movement is happening, which accelerates every other wear item.
- Gate alignment at rest: For swing gates, there should be an even gap between leaves and at the latch. For slide gates, the gate should sit centered on its track with the rear guide wheels contacting evenly.
- Fastener tightness: Give the gate a moderate shake from both directions and listen for rattling. A rattle is usually a loose bolt working itself out, which costs far less to fix before it falls out than after.
- Operator enclosure seal: Check that the cover sits flush and the gasket is intact. Moisture and insects inside the enclosure are the leading causes of board failures we see.
- Photo eyes and safety edges: Confirm they’re clean and aligned. A misaligned photo eye doesn’t just refuse to close, it can cause repeated halt-and-reverse cycles that strain the operator.
- Manual release function: Disconnect the operator once a month and run the gate by hand. If it binds, drags, or takes more force than you remember, the operator is working harder than it should, and that shortens its life.
Slide Gate Inspection Points: Track, Wheels, and Limits
Slide gates fail differently than swing gates. They ride on a track and wheels, which means wear concentrates at the wheel bearings, the rail surface, and the end-of-travel stops where the operator’s limit learning is set. Here’s what to inspect specifically on a slide gate in Westminster, where our dry climate tends to kick up fine grit that grinds into wheel bearings and rail grooves.
- Wheel contact on the rail: Every wheel should touch the rail and rotate when the gate moves. A wheel that skids instead of rolls is either seized or unloaded. Either condition grinds a flat spot into the wheel and a groove into the rail.
- Rail cleanliness: The top of the rail should be clean and smooth. Pebbles, caked dirt, or a dent from a car tire all cause the gate to bump as it travels. A bump at speed translates to a jolt on the operator’s gearbox.
- Limit switch behavior: Run the gate open, then closed. It should decelerate near each end of travel and land softly. If it stops abruptly, slams into the posts, or reverses a few inches after stopping, the limit learning has drifted. On Viking and DoorKing boards this is often a simple relearn procedure; on older systems it can indicate a failing limit sensor.
- End-stop and catch-post alignment: The gate should engage any end roller or receiver cleanly. A gate that catches the post at an angle is transferring lateral force into the frame every cycle, which eventually fatigues the pickets and rails.
- Rear guide wheels: The back of the gate should not wander side to side. If it does, the rear guide assembly is loose or the wheels are worn, which lets the gate climb off the track in the worst case.
Swing Gate Inspection Points: Hinges, Arms, and Stops
Swing gates carry their entire weight on the hinge side, so every problem shows up first at the hinge plates and the operator arm. For dual swing gates in Westminster, Leaf 2 usually wears faster because it latches against Leaf 1 and gets used as the primary leaf by some operators.
- Hinge sag: Open the gate halfway and try to lift it. Movement you can feel means hinge pins or plate bushings are worn. The fix is faster and cheaper before the gate drops enough to scrape the ground.
- Leaf-to-leaf latch alignment: On dual gates, the latch should meet cleanly without the operator having to muscle the leaves together. If the gap at the latch widens at the top versus the bottom, the gate is racking, which points back to hinge wear or post movement.
- Operator arm attachment: The arm should mount square to the gate and post. Bolts that have loosened will show rust streaks or a visible gap at the bracket. Elongated bolt holes mean the arm has been cycling under load misaligned for a while.
- Stop post and physical stops: Mechanical stops should limit travel so the operator isn’t the only thing preventing the gate from over-swinging. A bent stop or a post that has shifted means the operator is absorbing an impact it was never designed for, which destroys internal gears on piston-style arms.
- Pneumatic or hydraulic piston leaks: Run a finger along the piston shaft on operator arms. Any visible oil film or wetness is a seal failing, and once a piston leaks, the operator labors more every cycle until it quits.
Control Board and Electrical Checklist: What Forecasts Failure
This is where a checklist really earns its keep, because a control board rarely fails without warning. It telegraphs. The warning is visual, electrical, or behavioral, and it usually shows up weeks before the gate refuses to move. Here’s exactly what to look for, starting with the most serious.
Visual Board Inspection
- Open the enclosure and look at the board surface. Swollen capacitors look like a can that’s bulging at the top instead of sitting flat. A bulged capacitor on any brand we service, including Elite and Ghost Controls boards, is a countdown to failure, not a curiosity.
- Look for discoloration around relays or power-supply sections of the board. Copper that has turned from bright to brown or black means heat damage. If the board looks cooked, it’s already partially failed even if the gate still runs.
- Check for corrosion or white residue on any connector, terminal, or wire. Even if the gate works today, corrosion on a low-voltage logic wire creates intermittent faults that will eventually become permanent ones.
- Look closely at the diagnostic LEDs. On most Viking and DoorKing boards, a normal idle state shows a specific steady or flashing pattern. If an LED that used to be green is now red, or one that used to flash steadily is now flickering erratically, look it up in the manual. That LED is telling you a sensor or input is failing.
Behavioral Warning Signs
The second category is behavioral: the gate does something slightly different than it did a month ago. That difference is data. A gate that pauses an extra two seconds before it starts closing, or one that now hums for a beat before the motor engages, is announcing a failing capacitor, relay, or starting circuit. A gate that intermittently ignores the remote the first time but works on the second press points to a receiver or antenna issue on the board. Write these behavior changes down. The exact sequence and timing of the symptom cuts diagnostic time dramatically when we arrive, because it narrows the failure to a specific input, output, or power stage rather than forcing a whole-system process of elimination.
The Irrigation Overspray Audit: Protecting Enclosures
Here’s the Westminster-specific check that almost no generic checklist covers. Our irrigation systems run on timers, often at night, and they’re adjusted so rarely that the fine mist drifts onto the gate’s electrical enclosure without anyone noticing. Over months, that mist finds its way past a worn gasket or through a conduit that wasn’t sealed with duct seal, and the inside of the enclosure becomes a humid little greenhouse. Boards corrode, terminals develop high resistance, and the same gate that ran flawlessly through our dry summer starts acting up after a few months of sprinkler contact.
Here’s the audit, step by step:
- Turn on each sprinkler zone manually and stand at the gate while it runs. Watch where the water lands. You want to see where the spray pattern ends, not assume it’s fine because it’s been that way for years.
- Check the enclosure for wetness after a cycle. The inside of the lid should be completely dry. Any visible water beading on the lid, the board, or the terminal strip is a failure of the enclosure seal, the conduit entry, or both.
- Look at the base of the enclosure for rust bloom or mineral staining. That’s evidence of water pooling at the bottom, which means the drain hole, if there is one, is plugged, or the enclosure is mounted where the spray concentrates.
- If overspray is hitting the gate, redirect the sprinkler head, install a deflector, or move the enclosure. The cost of adjusting an irrigation zone is nothing compared to replacing a control board for a Viking or BFT operator.
Lubrication Specification by Component
This is the section where do-it-yourself maintenance does the most harm, because most people lubricate the wrong parts with the wrong product. The gate industry has specific standards for this, and guessing based on what’s in the garage is how hinges get coated in WD-40 and limit switches get gunked up. Here’s the breakdown by component and product type.
- Hinge pins and bushings: White lithium grease. Apply a thin film to the pin and work the gate back and forth to distribute it. Wipe off the excess. Do not use penetrating oil here; it washes out and leaves the hinge dry.
- Slide gate wheels and bearings: Sealed bearings take no lubrication; if a sealed bearing is noisy, it’s already failed and needs replacement. Open bearings take a lithium-based grease in small amounts. Never soak a wheel assembly, because the grease attracts the grit that destroys bearings.
- Operator arm pivot points and clevis pins: Light machine oil or spray white lithium. The goal is to keep the pivot moving freely, not to coat it. A little oil on a pivot, worked in, then wiped down is correct.
- Chain drives, if present: A dedicated chain lubricant, sparingly applied. Do not use heavy grease, which flings off and coats the track, the board, and everything else in the enclosure. If the chain is exposed to the Westminster sun all day, which is common on slide gates, inspect it for stiff links at the same time you lubricate it.
- Never lubricate these parts: Control boards, limit switches, photo eyes, fans, brake components on some Viking operators, and any electrical contact surface. Grease on a limit switch stops it from reading travel position accurately, and grease on a board creates a dust-bonding film that causes overheating. If a limit switch is stiff or sticking, clean it with dry air or replace it. Do not spray it.
Maintenance Log-Keeping: Format That Makes Diagnostics Faster
Here’s a simple but overlooked fact: the best maintenance log ever kept is the one that records observations, not just actions. A log that says you lubricated the hinges is useful for history. A log that says the gate now pauses two seconds before opening, right after a big rain, or when the temperature drops below 55, is a diagnostic shortcut. That kind of detail means the next technician doesn’t have to start from zero. It means a Viking operator with an intermittent limit issue gets recognized as a Viking intermittent limit issue on the first visit, not the third.
Your log format doesn’t need to be elaborate. A notebook in the enclosure works as well as a spreadsheet. The essential fields are: date, what you inspected, what you observed, especially anything different from last month, and what you did. For example: “Observed right hinge has a slight click when leaf swings past 45 degrees. No visible play yet but louder than last month.” That’s exactly the note a technician can act on. Log the gate cycles if your operator counts them on the diagnostics menu. Cycle count on a DoorKing or Elite board is the industry’s closest thing to an odometer, and it’s predictive: operators have typical service intervals, and knowing the count tells us when major wear items, like hinge pins or a gearbox, are due for preemptive replacement. The log turns a reactive repair call into a scheduled one, which always means a smaller invoice and a gate that never surprises you. For homeowners in Westminster with HOA-maintained gates, the same log format works for property managers who need to document deferred maintenance for budgeting and liability purposes.
Common Mistakes to Avoid
- Lubricating the limit switches with spray lubricant. The overspray gums up the switch internals and causes false limit readings. Limit switches get cleaned with dry air or replaced, never greased.
- Checking only one gate leaf on a dual swing system. Leaf 2 often wears faster because it’s the one that latches, and its hinge pins and hinges accumulate more cycles per day. If you only inspect Leaf 1, you’ll miss the one that’s about to sag.
- Adjusting the limits without understanding the board’s relearn sequence. On some DoorKing and Viking boards, manual limit adjustment without running the full learn cycle causes the operator to over-travel or slam at the end. Follow the manual, not guesses.
- Ignoring the irrigation overspray because the enclosure looks sealed. The gasket fails slowly. You won’t see it until you open the enclosure on a dry day and find the evidence: mineral staining, a rust bloom, or a board that looks like it’s been in a sauna.
- Spraying a chain drive with WD-40 or penetrating oil. Penetrating oil dissolves the existing lubricant film and leaves the chain with no persistent film. Then it runs dry, wears links, and flings the dissolved mix everywhere.
- Running the gate through a full cycle when a limit or photo eye is clearly misaligned. Every forced cycle stresses the operator and the structure. Stop, find the source of the fault, and fix it before the gate slams into a post or over-torques the arm.
When to Call a Professional
Some warning signs demand a specialist’s eye, not another month of observation. Call us if a hinge shows visible movement when you lift the gate, if a capacitor is bulging, if the diagnostic LED pattern changed and you don’t have the manual, if the gate intermittently refuses commands, or if the enclosure has water inside it. These are the failures that don’t heal, and the cost of the repair goes up the longer the gate runs with the problem. Gate repair is the core of what we do, and for board or operator issues, our electric gate repair service covers diagnostics across Viking, Ghost Controls, DoorKing, and Elite systems. Gate Repair Westminster offers free estimates in Westminster, call (866) 569-6562. We answer 24/7. Fast dispatch from 7am to 7pm, Sunday through Friday.
Frequently Asked Questions
Lubricate hinge pins, pivot points, and chain drives every three months in Westminster, or any time the gate starts to sound dry or feel resistant when you run it manually. Sealed bearings take no lubrication and should be replaced when noisy; limit switches and boards should never be lubricated. Call (866) 569-6562 for a lubrication spec for your specific gate and operator.
A slide gate comes off its track when the rear guide assembly fails, the wheels wear unevenly, or the gate climbs an obstruction at the end of travel. The mechanical cause is almost always a wheel or guide issue that was visible and fixable for weeks before the gate left the rail. If your gate is off the track, shut off the operator, don’t force the gate, and call us at (866) 569-6562.
You can do the visual and mechanical checks yourself: hinge inspection, lubrication with the correct products, irrigation overspray audit, and observation of behavior changes. You shouldn’t open a control board enclosure if you’re not comfortable with low-voltage diagnostics, and you shouldn’t relearn limits on an operator without the manual for your brand. For board-level work, call a gate specialist.
The most reliable warning is visual: swollen capacitors, heat discoloration near relays or power sections, corrosion on terminals, or a diagnostic LED that changed from its normal pattern. Behavioral warnings are just as real: a gate that pauses longer, intermittently ignores a remote press, or hums before the motor starts is showing you early failure signs. Write the symptom sequence down and call us for a board-level diagnostic.
Yes. Our dry climate kicks up fine grit that grinds into slide gate wheel bearings and rail surfaces, and our irrigation systems often run at night where overspray drifts onto electrical enclosures. The maintenance schedule here should prioritize rail cleanliness and enclosure moisture checks more than a coastal or humid-climate checklist would.
Write the date, what you observed, and what changed since last month. Note any behavioral differences like longer pauses, new hums, or intermittent remote response, and record the cycle count from the diagnostics menu if your board displays it. A log that captures observations is far more valuable than one that just says “lubricated hinges,” because it gives the technician a differential diagnosis before they even arrive. For a free log template specific to your gate type, call (866) 569-6562.
The Bottom Line
The right checklist for a Westminster gate is specific to the equipment on your property. Slide gates need track, wheel, and limit attention; swing gates need hinge, arm, and stop inspection. Control boards warn you visually and behaviorally weeks before they quit, but only if you look. The irrigation overspray audit matters here more than in most climates. And the most useful thing you can create is a maintenance log that records observations in the gate’s own behavior, because that log is what turns a two-hour diagnostic into a ten-minute one. If you’d rather have a specialist’s eye on the gate, Gate Repair Westminster offers free estimates in Westminster. Call (866) 569-6562. We answer 24/7. Fast dispatch from 7am to 7pm, Sunday through Friday.
Written by the team at Gate Repair Westminster, serving Westminster since 2011.
See the difference
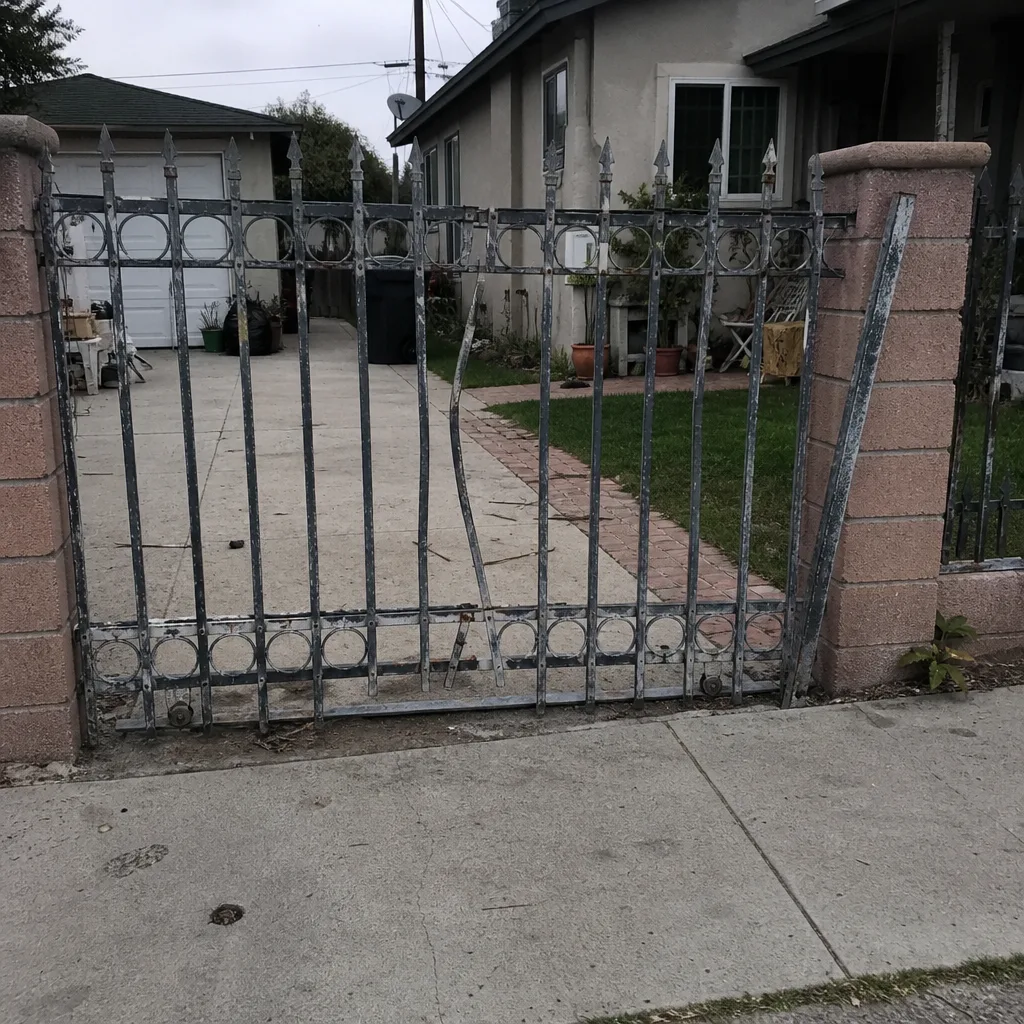 Before
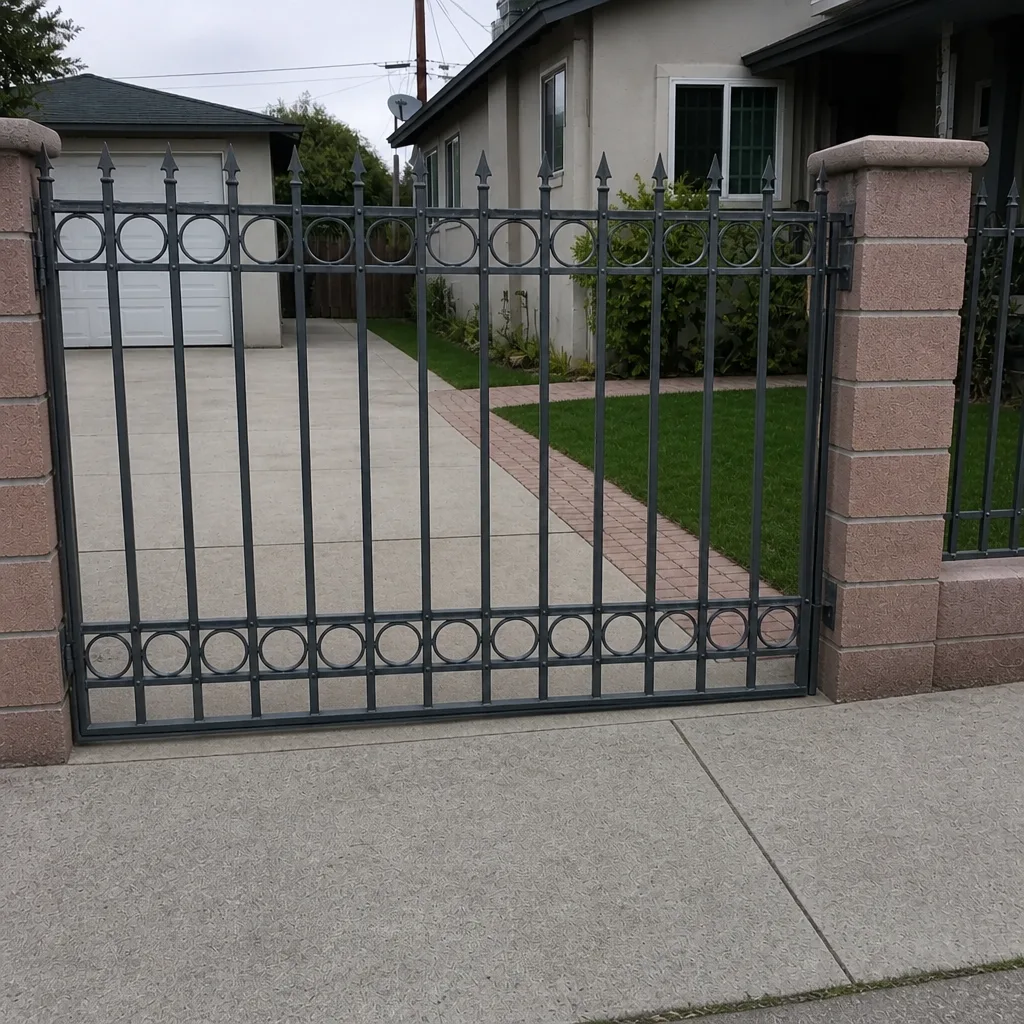 After
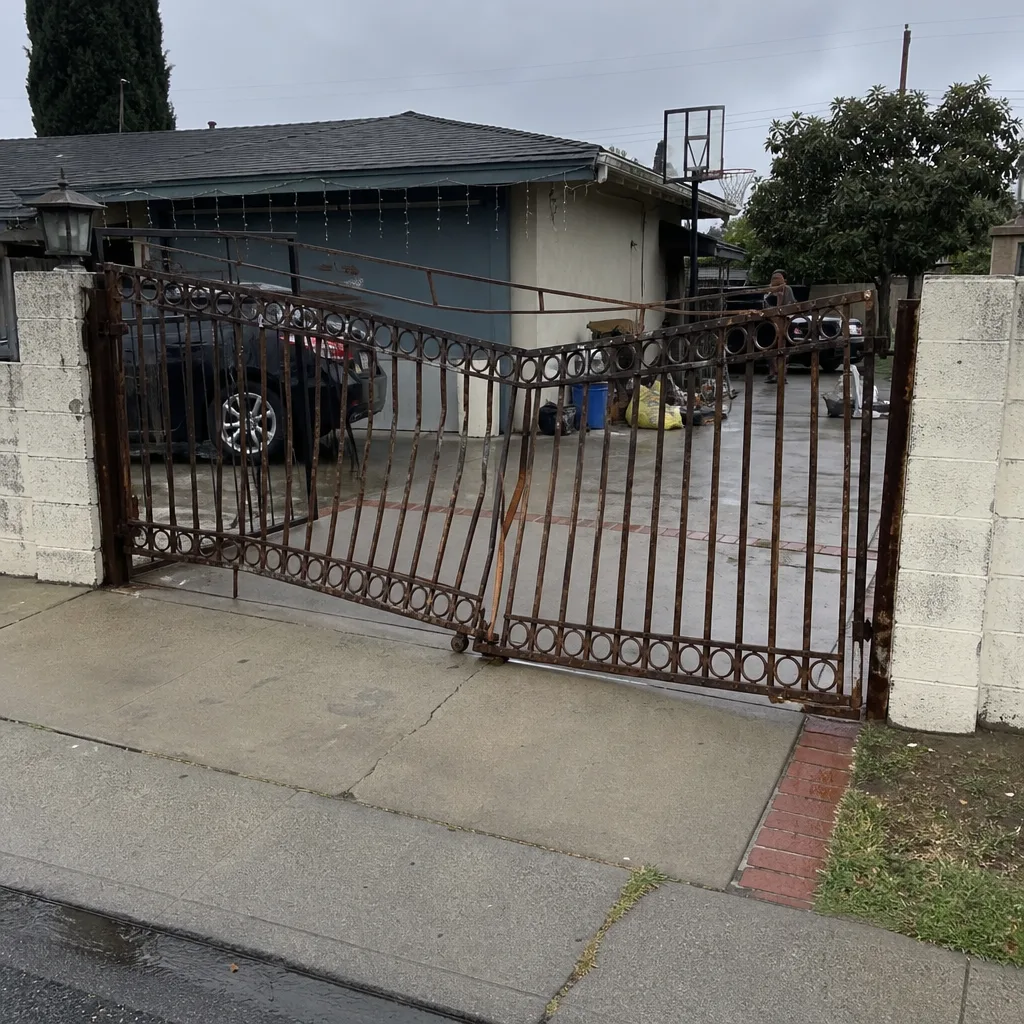 Before
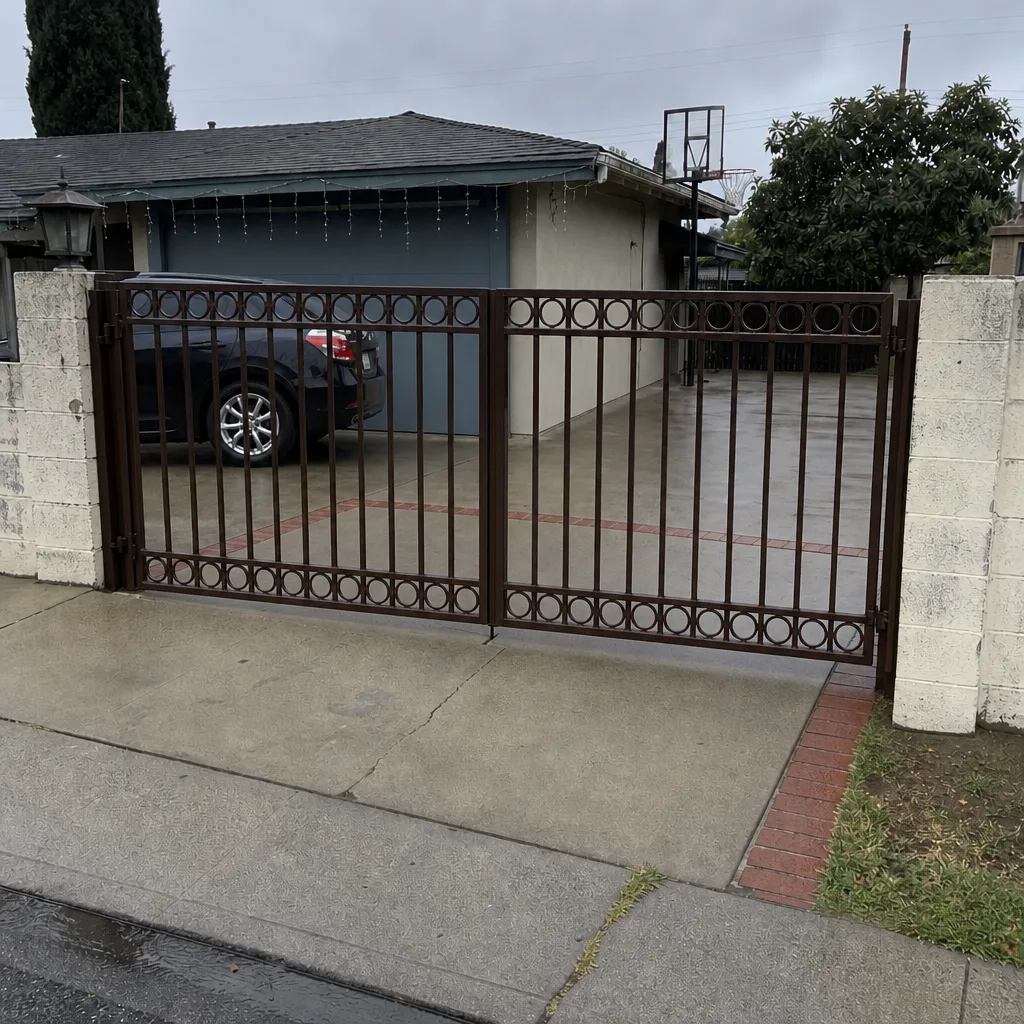 After
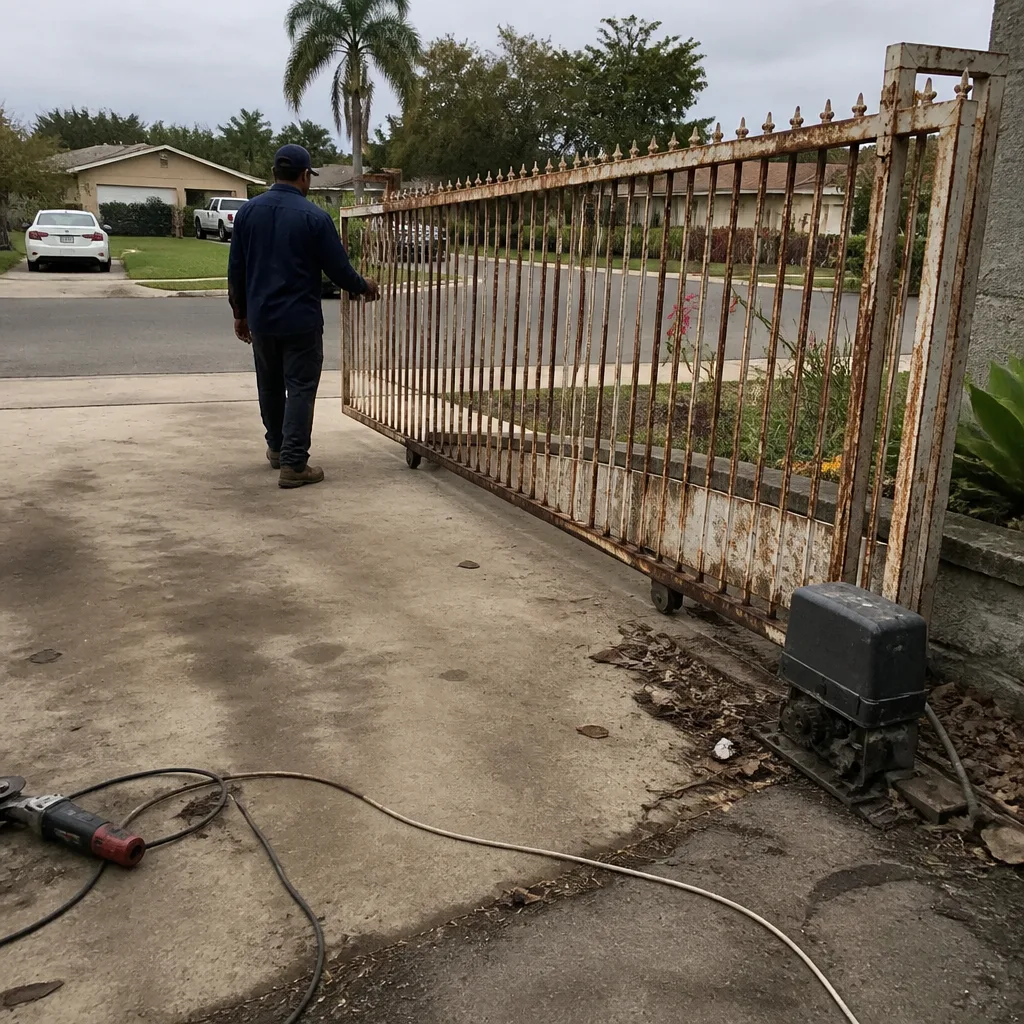 Before
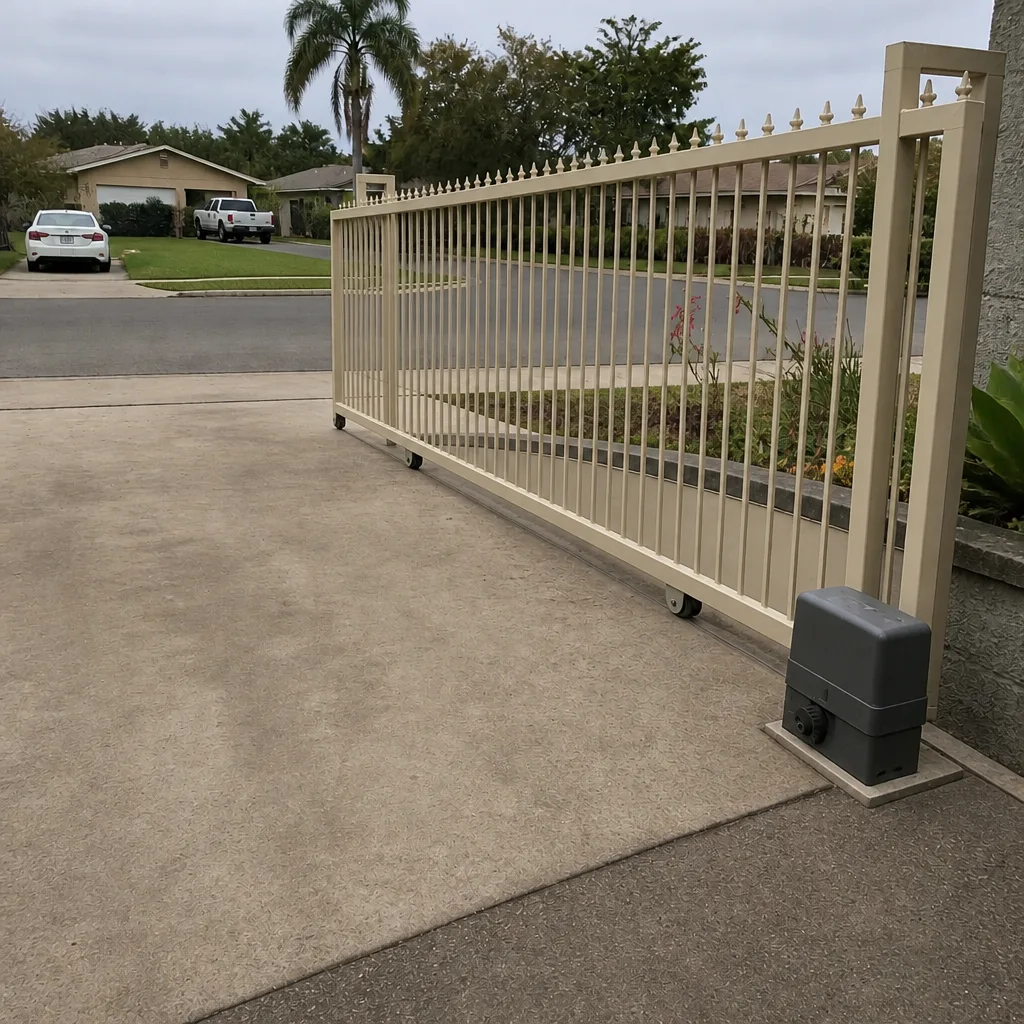 After